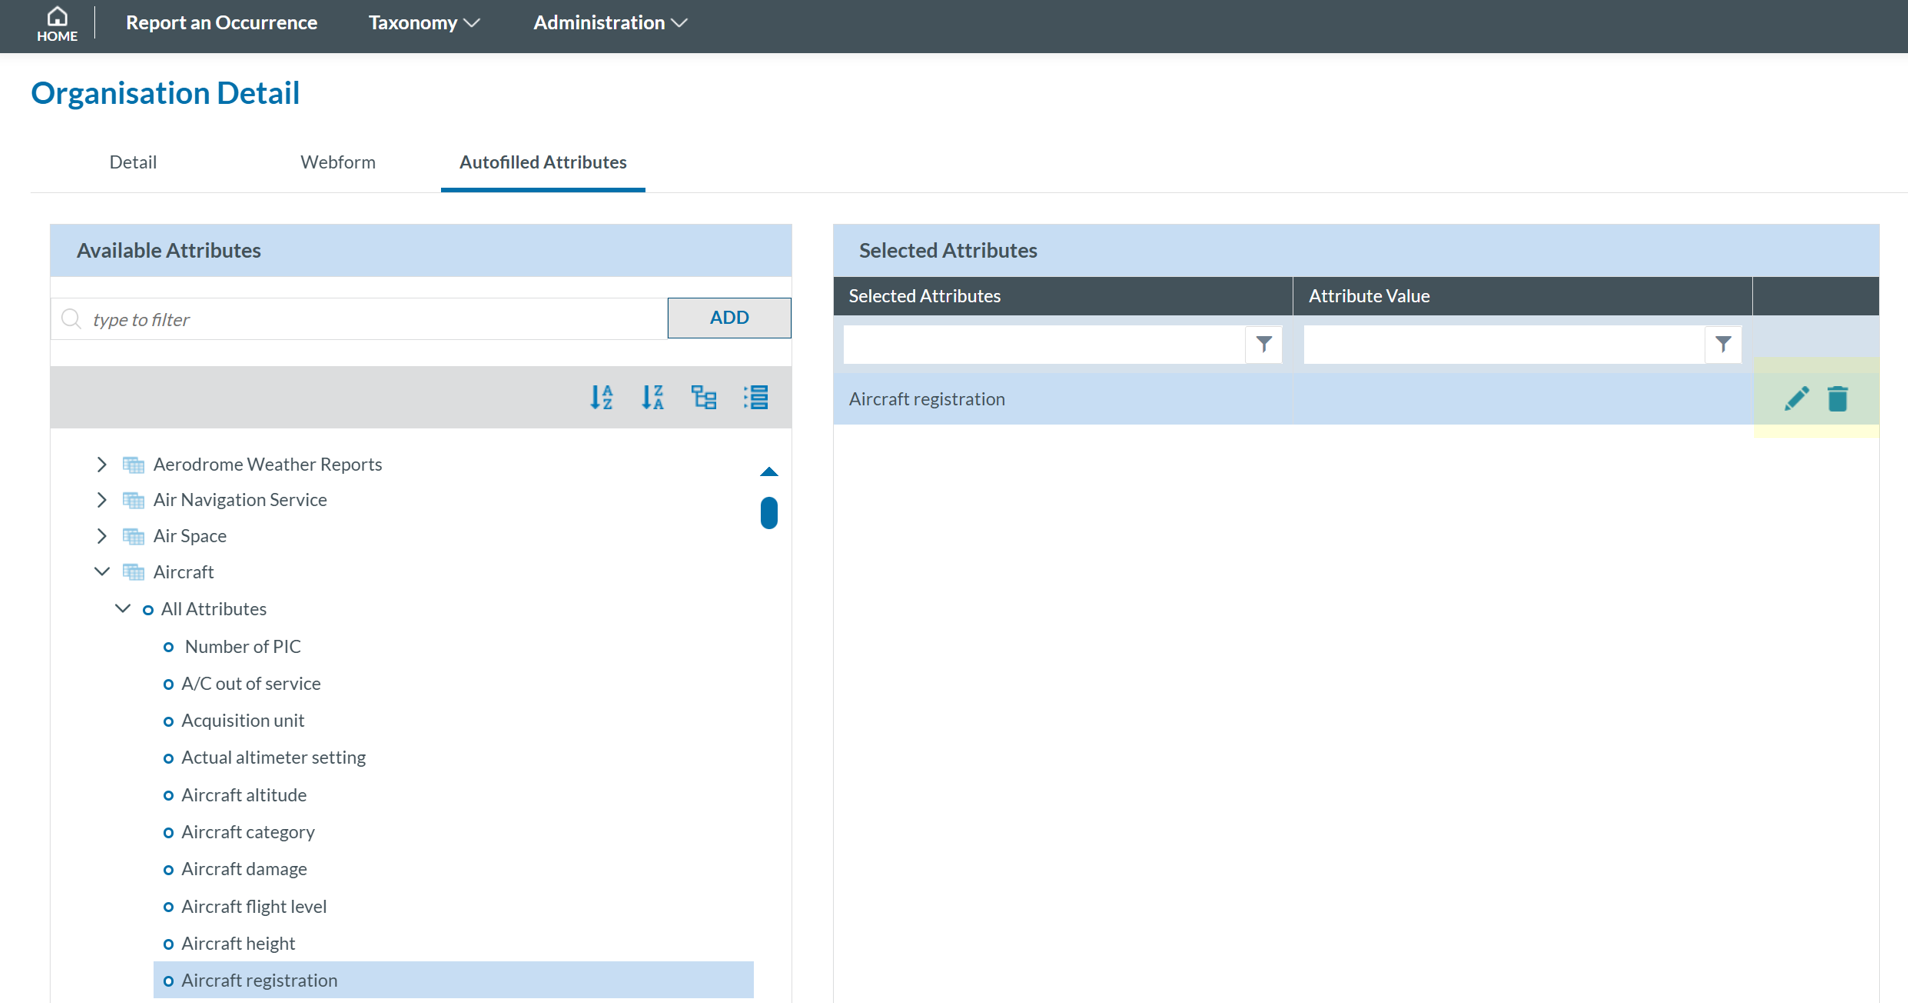
Autofilled Attributes
The Autofill Attributes tab lets Organisation Administrators predefine values for specific webform fields. When users from the organisation fill out a form, these values appear automatically. Upon clicking the tab, Organisation administrators will see the following screen:

To Configure Autofill Attributes
1. Explore Available Attributes (left pane)
- On the left pane, use the search filter to find attributes by name or ID.
- Browse the Taxonomy Browser below to locate the desired attribute.
2. Add Attributes to the Selection
- Click 'ADD' next to the search filter.
- Only one attribute can be added at a time.
- The selected attribute will appear in the right pane (Selected Attributes).
3. Edit or Remove Attributes
- Hover over the last section of any row to reveal the 'Edit' and 'Delete' icons.
- Click 'Edit' to open the Attribute Value window 'Delete' to remove the attribute.
4. Assign a Value
- Click Select Attribute Value.
- A selection page will appear based on the attribute type.

- Choose a value and click 'SAVE'.
- The selected value will return to the Autofilled Attributes window.
5. Finalize and Save
- Once all desired attributes and values are set, click 'SAVE'.
Note that the Authority of the Organisation may assign selected attributes to the Organisation. These attributes will have associated values. In some cases, the Authority will allow the Organisation to update these values, while in others, the values will remain non-editable.